How to Create NDAs?
To create a NDA you have two options:
- Create an NDA and assign a consulting firm to it
- Go to the consulting firm profile and add an NDA there.
I) Creating an NDA and assigning a consulting firm to it
Click "Administrative"

Click "All Contracts"

Here you can manage all the contracts:
Click "Contract", "Create NDA":
Select the consulting firm:
You can select from a consulting firm that your company already has a relationship with or a different one from the Consource Global Network (CGN):
Click "Next"
Select the Partner, the language, the layout and the template you want to use and click "Create NDA"
II) Going to the consulting firm profile and adding a NDA there.
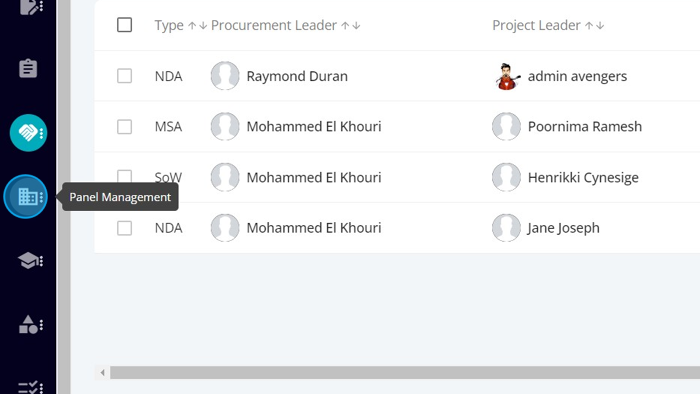
To access the company's profile page, click "Panel Management"
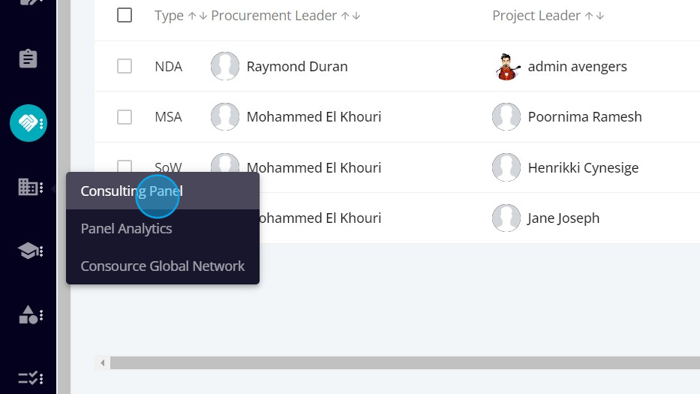
Click "Consulting Panel"
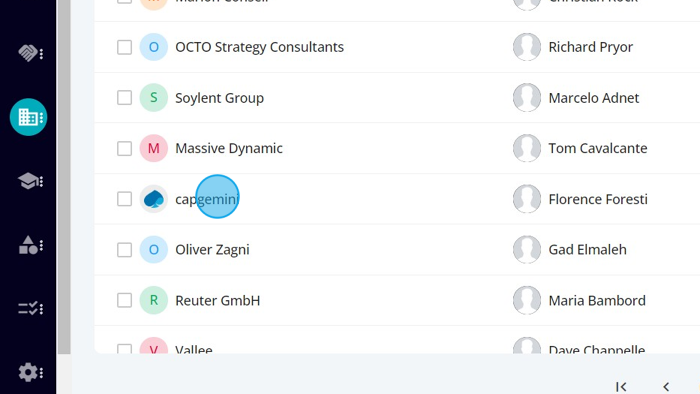
Click the company you want to see. "Capgemini" in this example:
Click the "Contracts" tab.

You can see all contracts with Capgemini:
Click "Contract", "Create NDA":
Select the Partner, the language, the layout and the template you want to use and click "Create NDA"
From here both options have the same process.
When you click "Create NDA", the partner will receive an email to informing about the NDA:
The Create NDA screen has several tabs:
- Layout
- Teams
- Preliminary info
- Term & Termination
- Confidential information
- Obligations
- General Provisions
- Other Provisions
- Signatures
1) Layout
The Layout screen shows the layout you chose:
You can change the information in the layout, but it will only take effect if you save it using the button "Save":
At anytime you can preview the NDA by click the "Preview" and at the end, you can export the NDA by click "Export".
The "Clock" icon on the right shows the Export History, where you can see who exported the NDA and when. You can view, download or delete each exported version.
You can also change the layout if you want. Click the "Change Layout" button on the right side of the screen:
Choose a new Layout and click "Change NDA Layout"
The new layout is loaded:
2) Teams
The second tab is Teams. Where you can see who is part of NDA:
If you want to add more people to the NDA, Click "Add Team Members":
Select the team member and click "Submit"
3) Preliminary info
Here you can enter the preliminary info: Intro, Client Info, Expected Start Date, Expected End Date, Terminology & Acronyms and Definitions:
On the "Definitions" section, you can define the terms you think are relevant to the NDA. Click "+ Add Definition"
Enter the Term, date and definition and click submit:
The definition is added to the list:
on the action column you can see that you have the option to edit or delete the definition.
Most information on this tab was imported from the template. If you want to edit any information, use the 3 blue dots on the right side of the field:
You have the option to edit or leave a comment to the others team members to see.
4) Term & Termination
Next we have the Term & Termination tab, where you have to enter the Effective that of the NDA, the term date and term description, the termination description:
5) Confidential Information
Here you can enter the Definition of confidential information and Exclusions from Confidential Information:
6) Obligations
Here you can describe the Obligations of disclosing party and the Obligations of receiving party:
As usual you have the option to edit or leave a comment on each field by using the 3 blue dots on the right side of the field:
7) General Provisions
Here you can add provisions you consider important to the agreement and were not on the other tabs. Click the "+ Add Field" button.
Enter the name and description of the field:
8) Other Provisions
Here you can add provisions you consider important to the agreement and were not on the other tabs. Click the "+ Add Field" button.
Enter the name and description of the field:
Always remember to save the modifications you did so you don't lose your work
9) Signatures
After reviewing all tabs and make sure everything is fine, you can go to the signatures tab and mark it "Ready to sign":
Save it and wait for the firm to sign the NDA.
Related Articles
How to create SoWs?
To create an SoW, click "Contracts": Click "Contracts" Here, you can manage all the contracts: Select SoW from the "Type" list. Select the Procurement Leader, the Project Leader, the Consulting Firm, the Creation Date, the Validity Date, enter the ...How to create a Project?
To create a new project, click "Projects" Here you can manage all projects: To create a new project without a demand, click "Add Project": Enter the name of the project: By default, the project leader is the person who is creating the project: Select ...How to create a RFI Project?
To create a new RFI project, click "Projects" Click "RFI Projects": Here you can manage all RFI projects: To create a new project without a demand, click "Add RFI": Enter the RFI name, the RFI Leader (By default it will be the person creating the ...How do I create a Demand or a RFI or a RFP based on a Initiative?
Go to "Pipeline Management": Click "Pipeline" Here you can manage all your initiatives: Find the Initiative you are looking for and click one of the 3 options: 1) Create Demand To create a demand based on a pipeline initiative, click "Create Demand": ...Project Management Workspace
The workspace tab is allows you to interact with the provider using chat, sharing files and links, creating task and scheduling meetings. The chat tab has the a "General" thread created by default, but you can change the thread name or create new ...