Project Management


- Home
- Project Team
- Objectives & Deliverables
- Workspace
- Project Milestones
- Invoicing and Payment
- Changes
II) Project Team
III) Objectives & Deliverables
IV) Workspace
V) Project Milestones

Change the information you want:

Click "Update"

The milestone is removed:


The milestone detail window shows some information about the milestone:


After seen the deliverable, close the detail window:

If you are satisfied with the deliverable, click "Approve":


Click "Approve"

The milestone is approved:

VI) Invoicing and Payment

Enter the requested information:
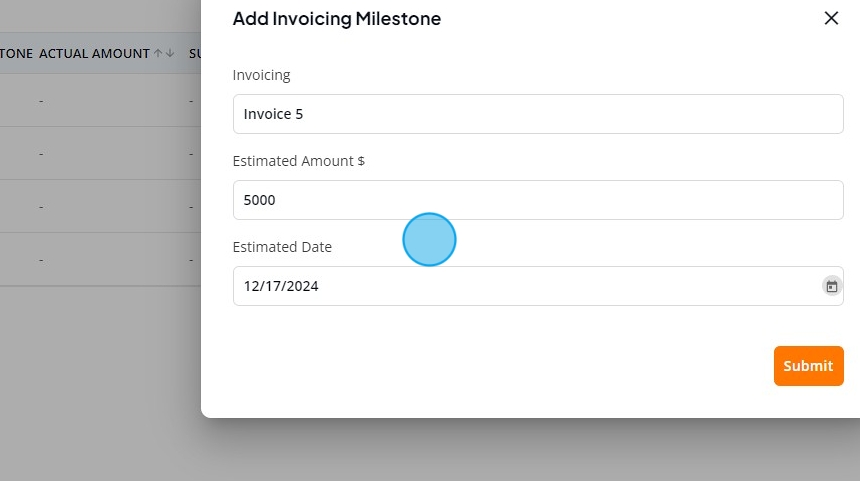
Click "Submit"

The invoice was added to the list:

You have to options: You "View Milestone"

The "View Milestone" window shows the invoicing milestone details:

Click "Cancel" to go back to the Invoice's list:

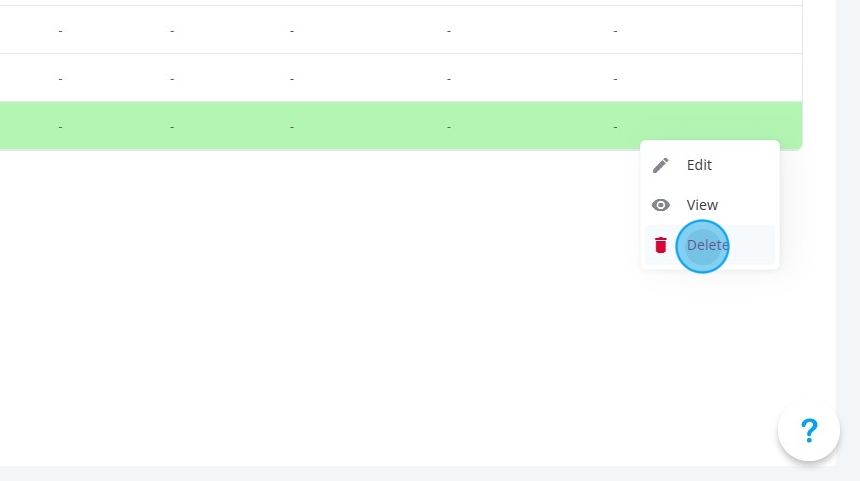
The second options is delete the milestone. Click "Delete"

The invoice is removed from the list:

It will also updated the "Actual Amount" and the "Submitted On" columns:

And the status will change to "Pending Approval"

To approve the invoice, click "Approve"

Enter the Target Payment Date:

And click "Approve"

The "Target Payment Date" is updated and the Payment status changes to "Update Payment"

Once the payment is done, click "Update Payment"

Click "Confirm"

The Payment Status changes to Paid and the Date reflects the payment date.

V) Changes

The first item in the "Changes" tab is "Tracing." Here, you can view all changes made to the project in the "Project Management" phase.

First, you have the "History of Changes," which is a summary table with information about the change. It includes the tab name, the field name, who changed it, when it was changed, and the validation status.
Next you have what was changed in each section. First "Objectives and Deliverables"

Next is "Project Scope"

Then you have the changes made to the "Expected Deliverables"

After that, the changed on the "Projects Milestones"

And the last one are the ones made to "Invoicing and Payment"

Next, you have the "Preparation" item, which let's you write comments to contextualize the changes. First you have the "Introduction" which is used to introduce the changes document.
Next, you have a section to explain/contextualize the "Changes to Objectives & Scope"
And last we have "Other changes" made to the project:
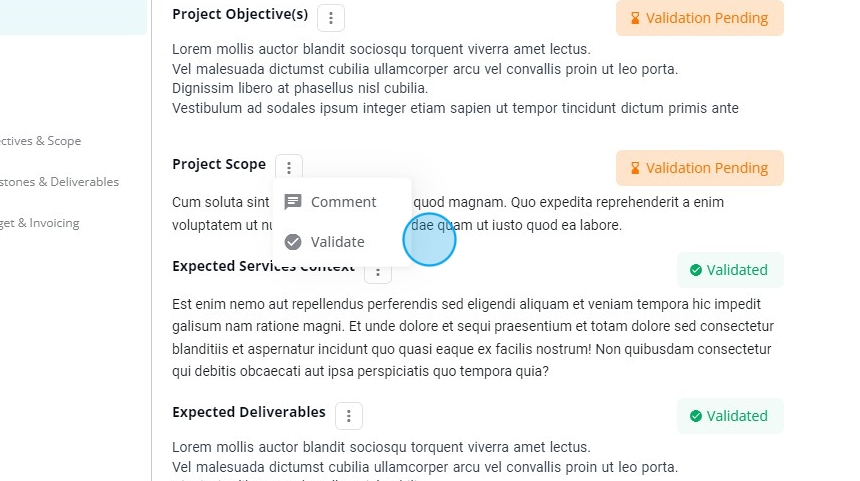
All fields marked with "Validation Pending" must be validated by you or the provider.

If you see a validate option, it means you have to validate. If not, you have to wait for the provider to validate. It all depends on who made the change.
Before validating the changes, you can discuss them with the provider using the workspace tab, as explained earlier in this article.

After selecting the people signing the document, generate it's PDF. Click "Selection"

Click "Generate PDF"

The document's PDF is generated with a "Draft" Status and the date it was done.
You have to options under the "Action" column. You can view the document, return, and still make changes to it...

Or if everything is right, you can "Mark as final"

The status changes to "Final" and the "Ready to sign" button is enabled.
Once you are ready to sign, click "Ready to sign"

Click "Yes"

Click "Execution" to start the signing process:

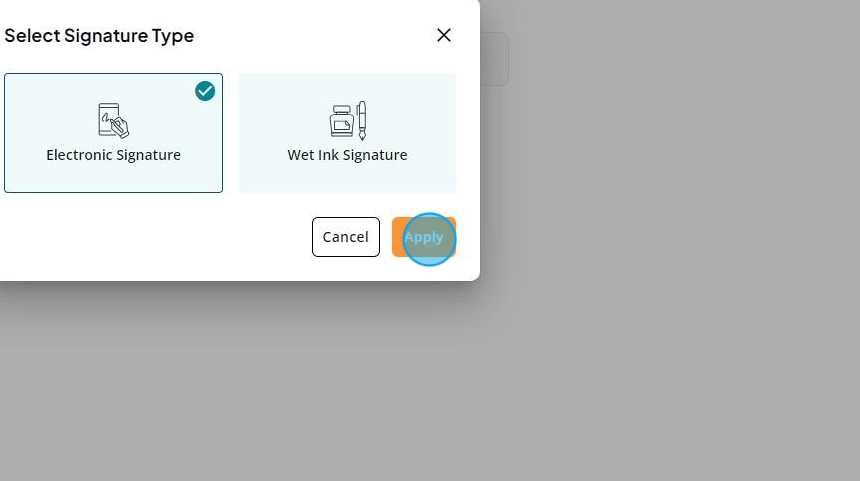
The final document is generated, and you have two options: You can sign electronically or in the traditional way. If you choose the conventional way, you have to print the document, sign it, send it to the provider to sign, and upload the document later.

Here, we will show the "Electronic Signature" process. Select "Electronic Signature" and click "Apply."
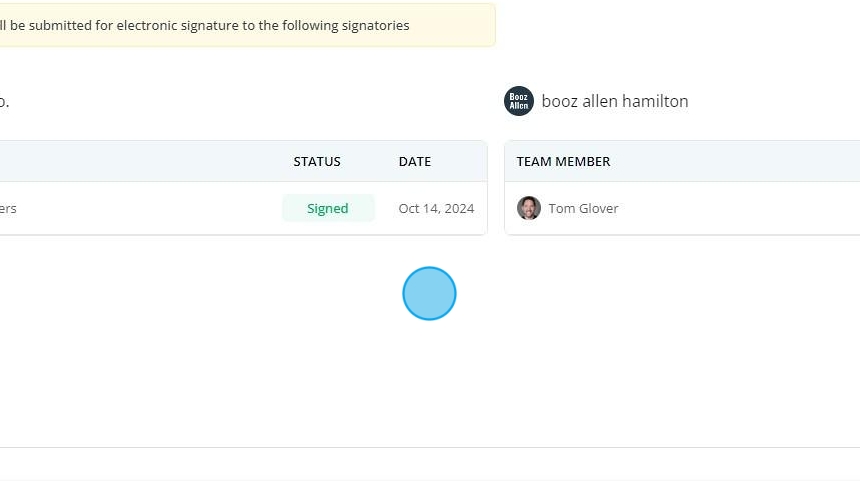
The invitations are ready to be send:

The invitations are sent to all people selected to sign the document.

The people assigned to sign the document will have the "Sign" button enabled. Click "Sign" to start the sign process.

The "Docusign" screen will load. Click "START".

Click "Sign"

Select the style of your electronic signature.

Click "Finish"

You signed the document and the status and date are updated.
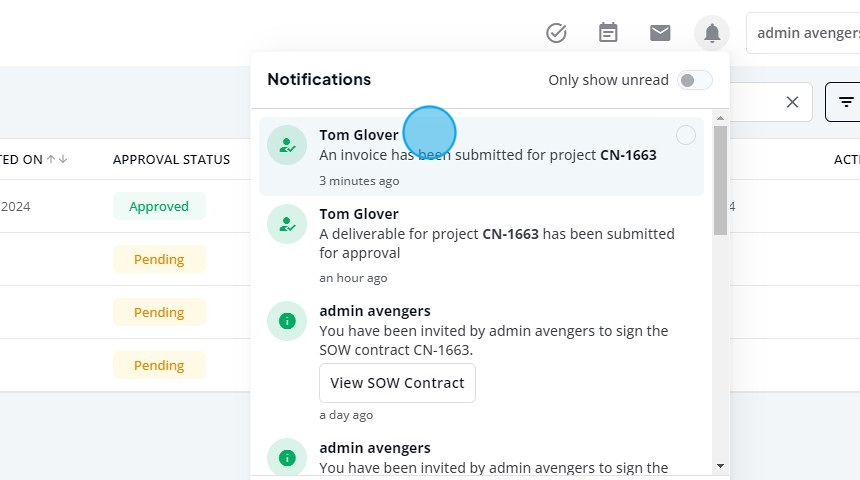
Once all parties have signed the document, you will receive a notification:
And the status of the change order will be updated:
Related Articles
Project Management Workspace
The workspace tab is allows you to interact with the provider using chat, sharing files and links, creating task and scheduling meetings. The chat tab has the a "General" thread created by default, but you can change the thread name or create new ...Measuring the Project Performance
Measuring the Project Performance is the next step on The Project Lifecycle. To do that, access the Project Management tab. Click "Projects": Go to the project you are managing, Market Study on this example: Click "Performance": Performance has 7 ...How to Fast-Track a Project?
When you don't have a demand created for the project, it can be Fast-Track. To do that, go to projects: Here you can manage all projects: To create a new project without a demand, click "Add Project": Enter the name of the project: By default, the ...How to create a Project?
To create a new project, click "Projects" Here you can manage all projects: To create a new project without a demand, click "Add Project": Enter the name of the project: By default, the project leader is the person who is creating the project: Select ...How to create a RFI Project?
To create a new RFI project, click "Projects" Click "RFI Projects": Here you can manage all RFI projects: To create a new project without a demand, click "Add RFI": Enter the RFI name, the RFI Leader (By default it will be the person creating the ...